


I was working on an Angular 10 project and it was required to dockerize the app. As someone new to Docker, I was able to dockerize the app by learning a few basic concepts. Here is my understanding of how I achieved my goal.
Before diving into the subject, let's break down what needs to be done.
- Understanding the build process of an Angular app.
- Basics of Docker
- Writing the Dockerfile for the app
Understanding the build process of an Angular app.
In order to install and build an Angular app, we follow this process
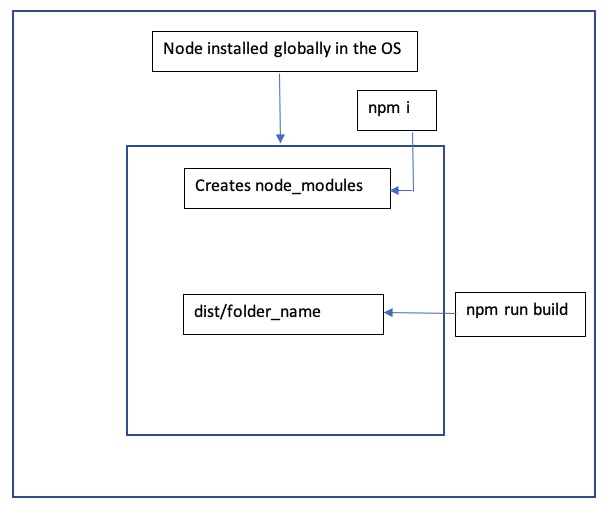
- The prerequisite is node should be installed globally.
- Then we install all the node packages.
npm install After installing, we build the app.
npm run buildNOTE: It should be noted that we don’t have to install @angular/cli if the only purpose is to build the app.
The build creates a folder called dist, inside which the project folder is there. Inside this folder, all the static files are present.
Check the outputPath in the angular.json file. This outputPath here is important.
For e.g. my project name is demo-project. In angular.json, the outputPath will be dist/demo-project.
- Now if we host these static files in a server, like nginx, it will be hosted and you can see a running Angular app.
Basics of Docker
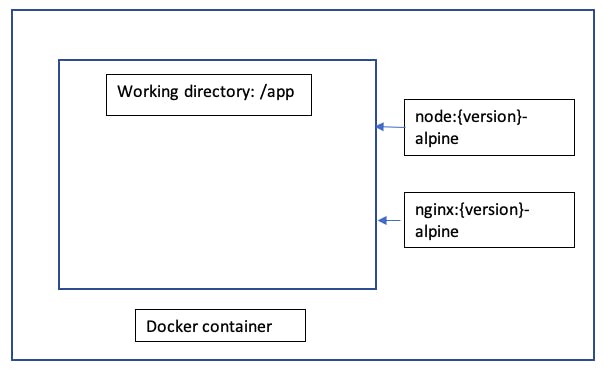
Think of Docker as an isolated container that has nothing inside it initially. For an Angular app to run, there is something called dockerhub (same as npmjs.com), where the docker images of all the packages are there.
First, install docker in your system. You can do it easily by going to their website (or Googling).
Now, we have to follow the same process of building the app, we discussed above.
After building the app, we have the static files from the dist folder. We need to host them on an nginx server. so we need both node and nginx from dockerhub.
Writing the Dockerfile of the app
Now that we understand how we should build the Docker container, it is time to write the Dockerfile.
There are some basic commands which you need to know, which are easy to understand. The important thing here is to visualize in mind what you’re doing.
Having said that, here is the Dockerfile I have created for my angular 10 app.
NOTE: The alpine version is the lightest version, which allows us to save storage space. The target here should be to create a docker image of a small size.
# node base image
FROM node:12.2.0-alpine as build

# working directory
WORKDIR /app

# copy everything to current working directory
COPY . ./

# run npm install
RUN npm install &&\
  npm run build

# nginx base image
FROM nginx:1.16.0-alpine

# copy static contents of project to nginx html
COPY --from=build /app/dist/demoProject /usr/share/nginx/html

EXPOSE 80

CMD ["nginx", "-g", "daemon off;"]
After writing the Dockerfile, you can build the image by
docker build -t demo-project .
Once it is built, you can check the size of the docker image
docker images
You can run your container by
docker run -p 4200:80 demo-project
Check in your browser.
http://localhost:4200
You can know about additional options for the docker commands on their website. There are a lot of commands with many options. It will be a good learning experience for all of you.
Hope you like reading this!
Ciao.